Installing OpenVPN
-
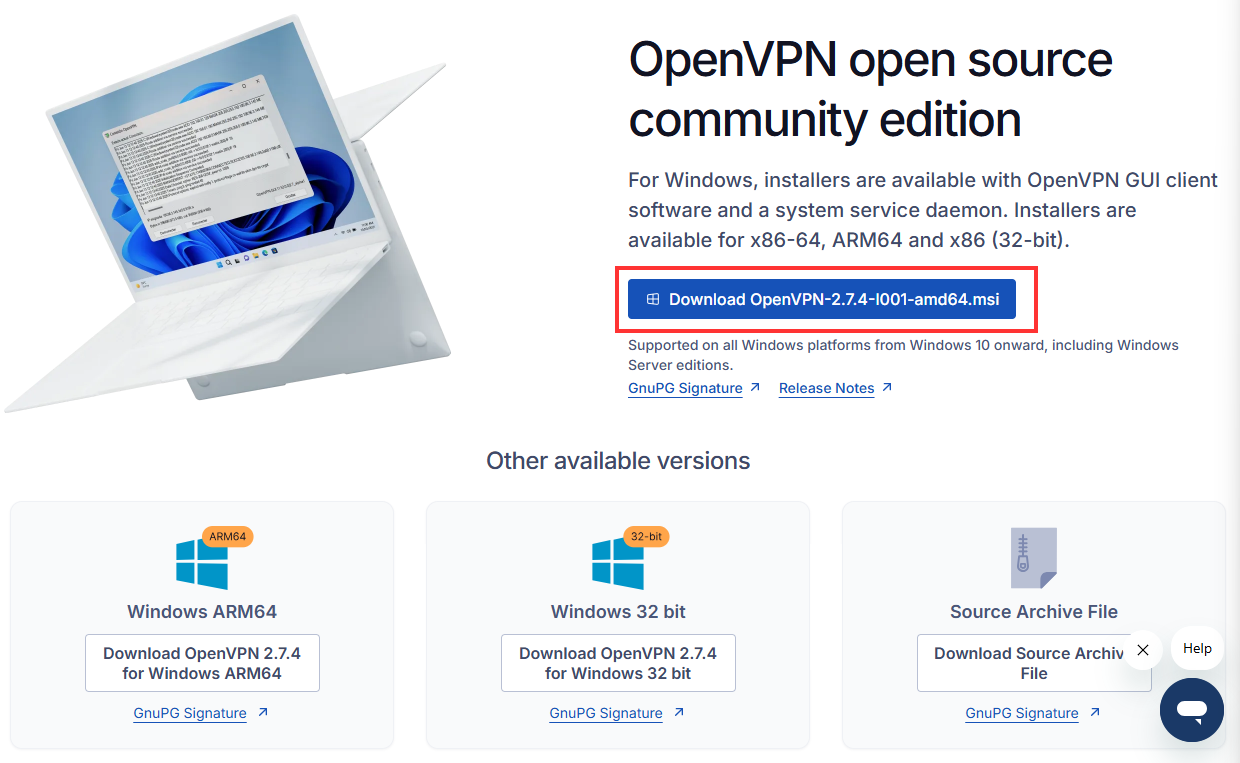
Download and install the latest OpenVPN:
https://openvpn.net/community-downloads/
Note: ensure that the correct one is downloaded for your version of windows
-
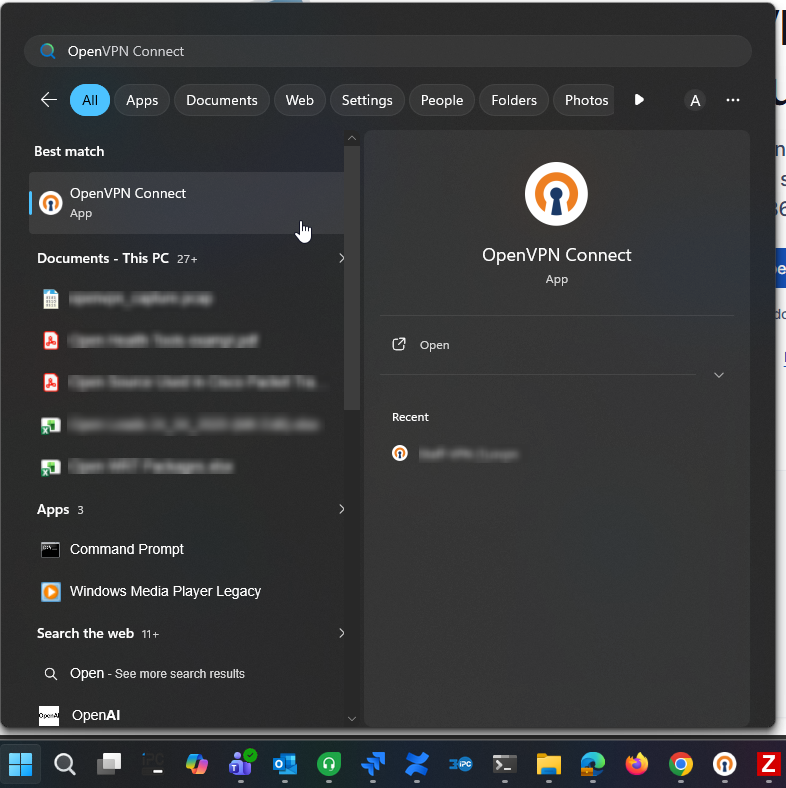
Open the OpenVPN client.
-
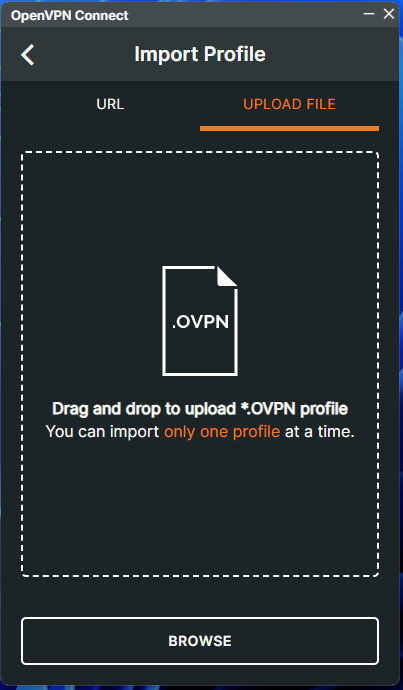
When the app opens, click on the add profile button.

-
Select the Upload File tab and either navigate to the ovpn file provided, or click and drag it to the Import Profile box.
-
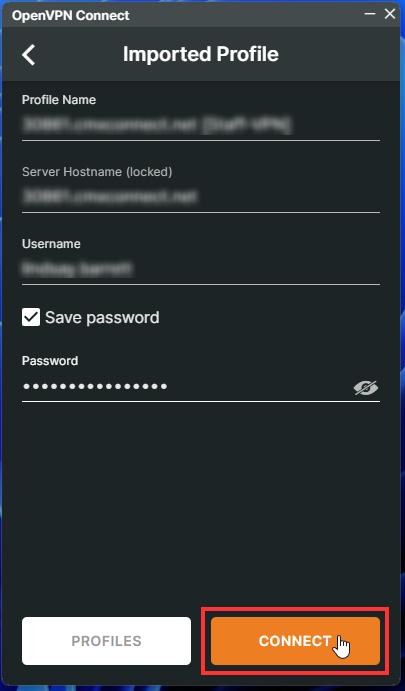
The Imported Profile will now appear, you can change the profile name if you want.
-
Add your Username and tick the Save password checkbox, then enter your password.
-
Now click on the Connect button and this will save the profile.
-
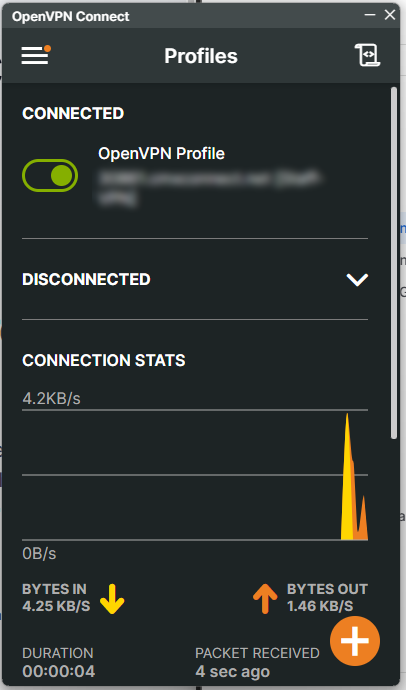
You will see that the OpenVPN connection is now connected. You can disconnect from the VPN by clicking on the green toggle.
Connecting and Disconnecting from the VPN
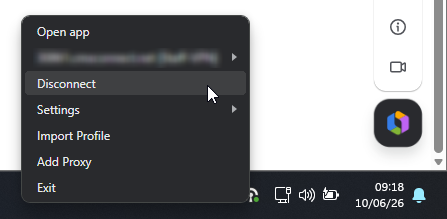
To connect at a later time, you can use the icon in the system tray.

Click on the icon to open the OpenVPN application, or right click on the icon and click Connect.

You can also right click when you are connected and can select Disconnect.
When you are connected to the VPN, you can access your local network as if you were at the office.